
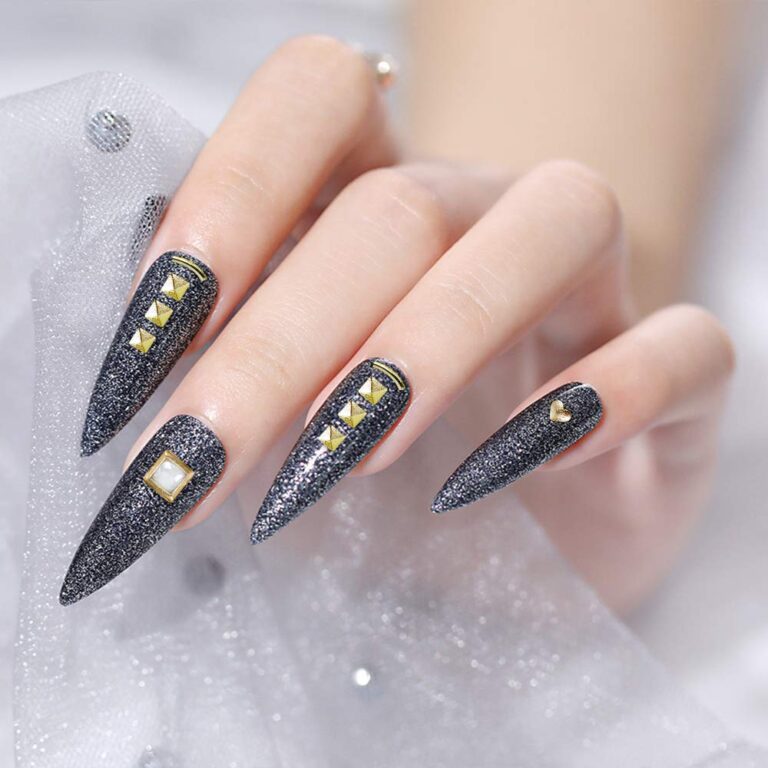
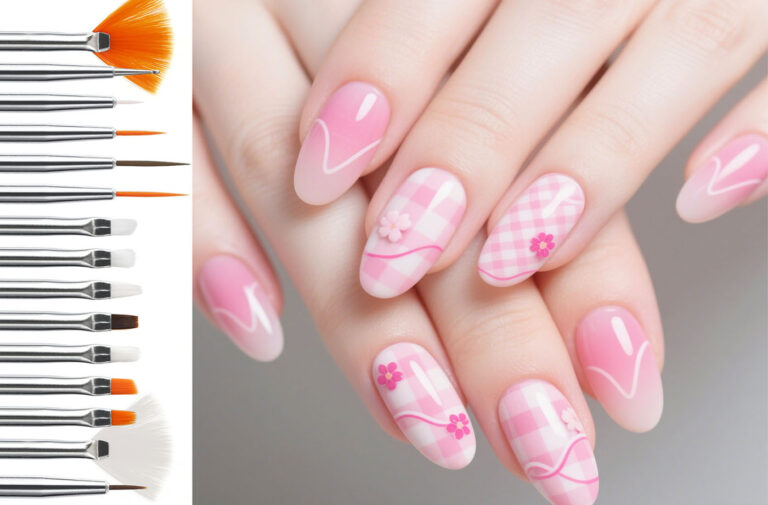
Your nail art brushes are your most important tools.
Without them, even the most expensive gel polish and chrome powder in the world can’t create stunning nail art.
But here’s the truth most people don’t want to hear:
A cheap brush that’s properly cleaned will outperform an expensive brush that’s never been cleaned.
If your brushes are getting stiff, the bristles are splaying out, or your fine liner brush can’t draw a clean line anymore — it’s not time to buy new brushes. It’s time to clean them right.
In this guide, we’ll show you the exact method pros use to clean, restore, and store their nail art brushes — so they stay soft, precise, and last for years, not weeks.
Let’s get started. 👇
🔍 Why Do Nail Art Brushes Get Ruined?
Before we fix the problem, let’s understand what’s actually destroying your brushes.
| What You’re Doing Wrong | What’s Actually Happening |
|---|---|
| 🚫 Letting gel polish dry on the brush | The cured gel locks the bristles in place — they become hard and unusable |
| 🚫 Using regular soap and water | Soap breaks down the glue that holds bristles to the ferrule — brushes start shedding |
| 🚫 Storing brushes lying down | Liquid seeps into the ferrule, loosening the glue and causing bristle loss |
| 🚫 Not cleaning after every use | Buildup hardens over time, ruining the brush’s shape and precision |
| 🚫 Using acetone to clean | Acetone dissolves the brush handle coating and dries out natural hair bristles |
💡 The #1 killer of nail art brushes? Letting product dry on them. Even 30 seconds of dried gel polish can permanently damage a brush.
🛠️ What You’ll Need (The Right Cleaner Makes ALL the Difference)
| Item | Why You Need It |
|---|---|
| ✅ Nail art brush cleaner (or isopropyl alcohol 91%) | The ONLY safe way to remove gel polish & acrylic from brushes |
| ✅ A small glass jar or silicone brush cleaner | To swirl and reshape bristles without damaging them |
| ✅ Paper towels or lint-free cloth | For drying — never use a regular towel (it catches bristles!) |
| ✅ Brush guard / brush cap | Protects bristles between uses and during storage |
| ✅ Cuticle oil or brush conditioner | Keeps natural hair brushes soft and flexible |
| ✅ Tweezers | To remove stuck-on product gently |
🛒 Shop our professional nail art brush collection → — Soft, durable bristles designed to withstand rigorous cleaning.
📋 Step-by-Step: How to Clean Nail Art Brushes the RIGHT Way
Follow these 5 steps every single time you finish a nail art session. It takes 2 minutes and will double the life of your brushes.
✅ Step 1: Wipe Off Excess Product IMMEDIATELY
This is the most important step, and most people skip it.
As soon as you put the brush down, wipe it on the inside rim of your gel polish bottle or on a lint-free wipe.
| ✅ Do This | ❌ Don’t Do This |
|---|---|
| Wipe off 90% of the product right away | Let the brush sit with product on it |
| Do it within 10 seconds of finishing | Wait until you’re “done” with the whole set |
| Use the bottle rim or a paper towel | Let it air dry even for a minute |
🔑 Why this matters: Gel polish starts curing in 15–30 seconds once exposed to air. If you wait, it hardens on the bristles and you’ll never get it all out.
✅ Step 2: Swirl in Brush Cleaner (Don’t Soak!)
Pour a small amount of brush cleaner or 91% isopropyl alcohol into a glass jar.
Swirl the brush gently in the cleaner — don’t soak it and don’t let liquid get above the ferrule (the metal part that connects bristles to handle).
| ⚠️ Critical Rule | |
|---|---|
| ✅ Swirl gently for 10–15 seconds | ❌ Don’t soak for more than 30 seconds |
| ✅ Keep liquid below the ferrule | ❌ Don’t let cleaner seep into the handle |
| ✅ Reshape bristles with your fingers | ❌ Don’t scrub against the jar |
Swirl until the water/cleaner runs clear. For stubborn gel polish, you may need to repeat 2–3 times.
✅ Step 3: Reshape the Bristles
After cleaning, gently reshape the bristles back to their original shape using your fingers or a clean brush comb.
| Brush Type | How to Reshape |
|---|---|
| 🖌️ Flat brush | Press bristles flat and straight |
| 🖌️ Round brush | Roll between fingers to restore the point |
| 🖌️ Fan brush | Gently spread bristles back into a fan shape |
| 🖌️ Liner brush | Use tweezers to align bristles into a fine point |
| 🖌️ Dotting tool | Press the tip back into a perfect dome |
💡 Pro Tip: If your brush has a few splayed bristles, don’t panic. Gently push them back into alignment while the bristles are still slightly damp. They’ll hold the shape once dry.
✅ Step 4: Dry Properly (This Is Where Most People Fail)
Lay the brush flat or at a slight angle on a paper towel or lint-free cloth.
| ✅ Do This | ❌ Don’t Do This |
|---|---|
| Lay flat or angle down on paper towel | Stand upright (water runs into ferrule) |
| Let air dry completely (15–30 min) | Blow on it or use a hair dryer |
| Store with brush guard ON | Leave bristles exposed to dust |
🏆 Never store a brush with wet bristles. Moisture inside the ferrule = glue breakdown = bristle loss. This is how brushes “die.”
✅ Step 5: Store Correctly (The Secret to Long-Lasting Brushes)
How you store your brushes is just as important as how you clean them.
| Storage Method | Rating | Why |
|---|---|---|
| ⭐⭐⭐⭐⭐ Brush guard / cap on, lying flat | Best | Protects bristles, prevents dust, keeps shape |
| ⭐⭐⭐⭐ Standing upright in a holder | Great | Keeps bristles away from surfaces |
| ⭐⭐ Lying flat, no cap | Okay | Better than standing, but dust gets in |
| ⭐ Thrown in a bag with other brushes | Terrible | Bristles get crushed, bent, and dirty |
| ❌ Standing in a cup of water | Worst | Ferrule soaks up water = glue dissolves = brush dead |
🌟 How to RESTORE a Dried-Out or Damaged Brush
Think your brush is beyond saving? Think again. Try these rescue methods before you throw it away.
| Problem | The Fix |
|---|---|
| 😟 Brush is stiff and hard | Soak in brush cleaner for 2–3 min, then reshape and condition with cuticle oil |
| 😟 Bristles are splaying out | Soak in warm water (NOT hot!) for 1 min, reshape, and let dry flat |
| 😟 Brush lost its point (liner/detail brush) | Soak in brush cleaner, use tweezers to reshape tip, let dry pointing DOWN |
| 😟 Ferrule is loose (bristles falling out) | Unfortunately, this one is usually done. Time for a new brush 😢 |
| 😟 Brush smells terrible | Deep clean with brush cleaner + a few drops of dish soap, rinse thoroughly, dry completely |
💡 Cuticle oil hack: After cleaning, dip the bristles in a tiny amount of cuticle oil or brush conditioner. This keeps natural hair brushes soft and prevents future drying.
❌ 7 Mistakes That Are Killing Your Nail Art Brushes
| # | Mistake | Why It’s Bad | The Fix |
|---|---|---|---|
| 1 | 🚫 Using acetone to clean brushes | Dissolves handle coating, dries out bristles | Use brush cleaner or 91% IPA instead |
| 2 | 🚫 Letting gel polish dry on the brush | Cured gel = permanent damage | Wipe immediately after every stroke |
| 3 | 🚫 Using regular dish soap | Breaks down the ferrule glue over time | Use brush-specific cleaner only |
| 4 | 🚫 Storing brushes standing up | Liquid seeps into ferrule | Always store flat or with cap on |
| 5 | 🚫 Sharing brushes between clients | Hygiene risk + cross-contamination of product | One brush per client, always |
| 6 | 🚫 Not replacing brushes when needed | Worn brushes = bad nail art = lost clients | Replace every 3–6 months with regular use |
| 7 | 🚫 Buying the cheapest brushes | Cheap brushes shed, split, and lose shape fast | Invest in quality — they last 5x longer |
📊 Brush Lifespan Cheat Sheet
| Brush Quality | With Proper Care | Without Care |
|---|---|---|
| 💰 Budget (2–5) | 2–4 months | 2–4 weeks |
| 💰💰 Mid-Range (5–10) | 4–8 months | 1–2 months |
| 💰💰💰 Pro (10–20) | 8–12+ months | 2–3 months |
🔑 The math is simple: A 15brushcleanedproperlylastslongerthanfive3 brushes thrown away every month.
💎 How Often Should You Deep Clean Your Brushes?
| 🔄 After every use | Wipe on bottle rim + quick swirl in cleaner |
| 📆 Once a week | Full clean with reshaping + conditioning |
| 🧴 Once a month | Deep clean + inspect for bristle loss or damage |
| 🗑️ Every 3–6 months | Replace worn-out brushes (even with perfect care!) |
❓ FAQ: Your Burning Questions Answered
Q: Can I use nail polish remover to clean my brushes?
A: Only if it’s acetone-free. Acetone-based remover will destroy the brush handle and dry out natural bristles. Stick to brush cleaner or 91% isopropyl alcohol.
Q: How do I know when it’s time to replace a brush?
A: If the bristles are permanently splayed, the ferrule is loose, or the brush can’t hold its shape no matter how much you clean it — it’s time for a new one.
Q: Can I clean synthetic brushes the same way as natural hair brushes?
A: Yes! Synthetic brushes are actually easier to clean because they’re more resistant to solvents. Just avoid acetone.
Q: Is it okay to use baby shampoo on my brushes?
A: In a pinch, yes — but only occasionally. Baby shampoo is gentler than regular soap, but it’s not designed for brushes. Use a proper brush cleaner for best results.
Q: Why do my brushes smell even after cleaning?
A: Gel polish and acrylic can leave a lingering odor. Try soaking in brush cleaner with a few drops of tea tree oil. It disinfects AND deodorizes.
🏁 Final Thoughts
Your nail art brushes are an investment, not a disposable tool.
A brush that you clean properly will outlast five cheap brushes you throw away every month. And better brushes = better nail art = happier clients (or a better DIY manicure at home).
Remember the golden rules:
🔑 Wipe immediately → Clean with brush cleaner → Reshape → Dry flat → Store with cap on.
Do this every time, and your brushes will stay soft, precise, and ready to create gorgeous nail art for years.
Now go clean those brushes. Your next masterpiece is waiting. 💅✨

Est tenetur molestiae sed voluptatem Quo nulla optio sequi sit dolorem laborum. Commodi sint minus occaecati est asperiores Non dolores. Id dolores et rerum Reprehenderit voluptatibus sed modi hic.
Eligendi culpa cum sit fficiis inventore nulla non maiores culpa optio ducimus est ullam at nisi ea. Consequatur et culpa accusamus ea. Incidunt velit dicta doloremque repellat quo magnam
Harum et libero debitis ea aspernatur vel est. Vel ab enim eveniet earum
You would want to ensure the plugin is installed and activated for the section to be visible.
In odit sunt sed. Maiores tempora ut ducimus accusantium. Aut voluptatibus et quidem quibusdam ea nisi