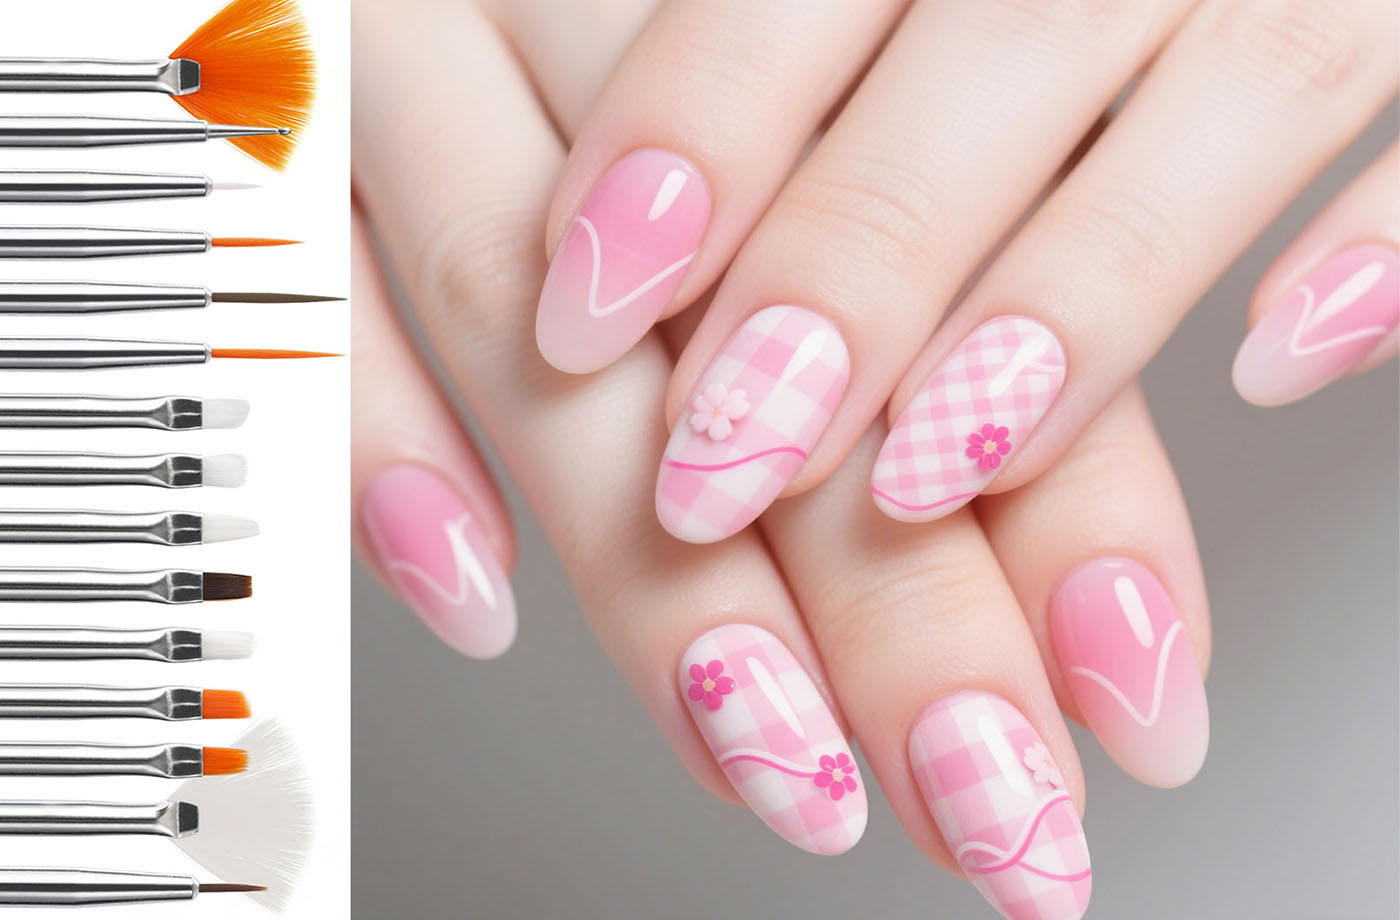
Confused about which nail art brush to grab? Here’s the ultimate guide to using liner brushes, dotting tools, and fan brushes—so you can create pro-level designs every time.
🔍 Quick Overview: What Each Tool Does
| Tool | Primary Use | Key Feature |
|---|---|---|
| Liner Brush | Drawing precise lines, curves, and details | Thin, pointed bristles for controlled strokes |
| Dotting Tool | Creating dots, circles, and small shapes | Round or ball-shaped tip for consistent dots |
| Fan Brush | Blending, gradients, and large-area color | Fan-shaped bristles for sweeping motions |
🖌️ Liner Brush: The Precision Artist
What It’s For
- French tips: Draw a clean, even smile line.
- Intricate designs: Flowers, swirls, or geometric patterns.
- Text: Write names, dates, or tiny messages.
- Edging: Define the edge of a design (e.g., a heart outline).
How to Use It
- Dip the brush into your gel or polish (don’t overload—wipe excess on the bottle rim).
- Start at the base of the nail (near the cuticle) and lift the brush as you draw.
- Use light pressure—too much can drag the product or smudge.
- Practice on a practice pad first if you’re new—steady hands = crisp lines.
Common Mistakes & Fixes
| Mistake | Fix |
|---|---|
| Lines are shaky | Hold the brush like a pencil (not a paintbrush). |
| Lines are too thick | Use a smaller brush size (e.g., #000 or #00). |
| Lines smudge | Let each line dry before adding the next. |
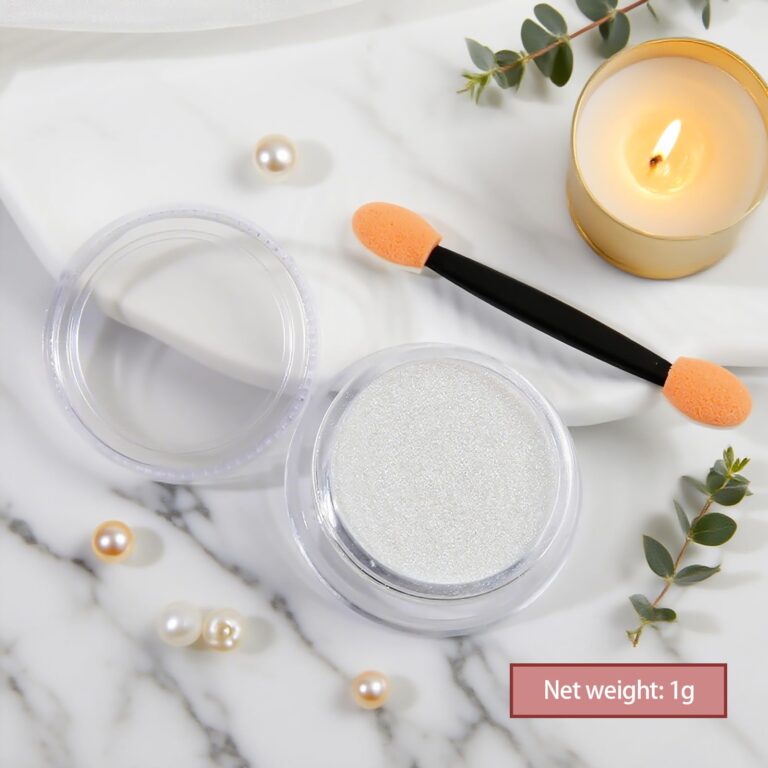
🔴 Dotting Tool: The Dot Master
What It’s For
- Polka dots: Classic, playful, or ombré dots.
- Textured designs: Stippling, stars, or tiny flowers.
- 3D effects: Build up layers of dots for dimension.
- Minimalist art: Single dots or small clusters.
How to Use It
- Dip the tip into your product (the round end is best for dots).
- Press gently onto the nail—don’t drag.
- Lift straight up to avoid smudging.
- Vary pressure: Light for small dots, firmer for larger ones.
Pro Tips
- Use different tip sizes: A #00 dotting tool for tiny dots, a #2 for larger ones.
- Mix colors: Dip the tool in two colors for ombré dots (e.g., pink to white).
- Clean the tip between colors with a lint-free wipe + alcohol.
🌀 Fan Brush: The Blending Pro
What It’s For
- Gradients: Ombré, sunset, or marble effects.
- Blending: Smooth transitions between colors.
- Large areas: Filling in a base color or creating a “wash” effect.
- Texture: Sweeping motions for a “feathery” look.
How to Use It
- Dip the bristles into your product (don’t overload—fan brushes hold a lot).
- Sweep the brush across the nail in a single, smooth motion.
- Use light pressure—too much can drag the product.
- Blend edges by feathering the bristles outward.
Common Mistakes & Fixes
| Mistake | Fix |
|---|---|
| Gradient is patchy | Use a clean brush for each color. |
| Colors blend too much | Let the first color dry before adding the next. |
| Fan brush is stiff | Soak the bristles in warm water + soap to soften. |
🛠️ How to Choose the Right Tool
| Design Goal | Best Tool | Why |
|---|---|---|
| Draw a French tip | Liner Brush | Precise, controlled lines. |
| Create polka dots | Dotting Tool | Consistent, round dots. |
| Blend a sunset gradient | Fan Brush | Sweeping motions for smooth transitions. |
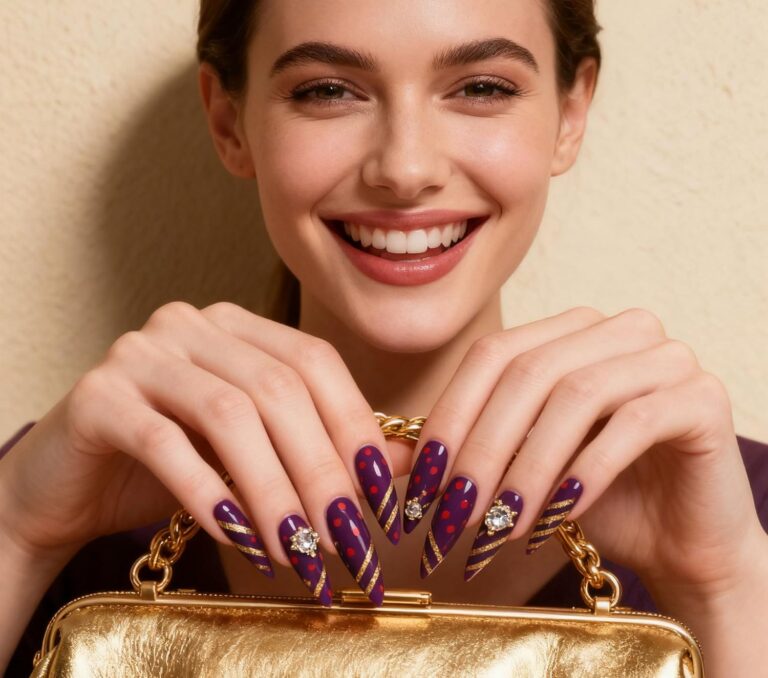
| Add tiny flowers | Liner Brush + Dotting Tool | Liner for petals, dotting for centers. |
🧼 Maintenance & Care
- Clean after use: Wipe bristles with 75% alcohol + lint-free wipe.
- Store properly: Keep brushes in a closed container to protect bristles.
- Replace worn bristles: If bristles are splayed or broken, the brush won’t work well.
🛒 Shop Our Nail Art Brush Sets
Ready to upgrade your nail art game? We’ve curated sets that include all three tools—plus more—so you can create anything.
👉 [Shop Liner Brush Sets] — precision for every detail.
👉 [Shop Dotting Tool Kits] — dots, circles, and textures made easy.
👉 [Shop Fan Brush Collections] — gradients and blends in a snap.
Still have questions? Check our [Nail Art 101 Guide] or reach out to our support team. We’re here to help you master every brush.


Checkout our new blog post